Tools required: Philips screwdriver
- Power off and unplug power and accessory cables from the encoder
- Using your Philips screwdriver unscrew the screws attach to the lid on the side and rear of the encoder.
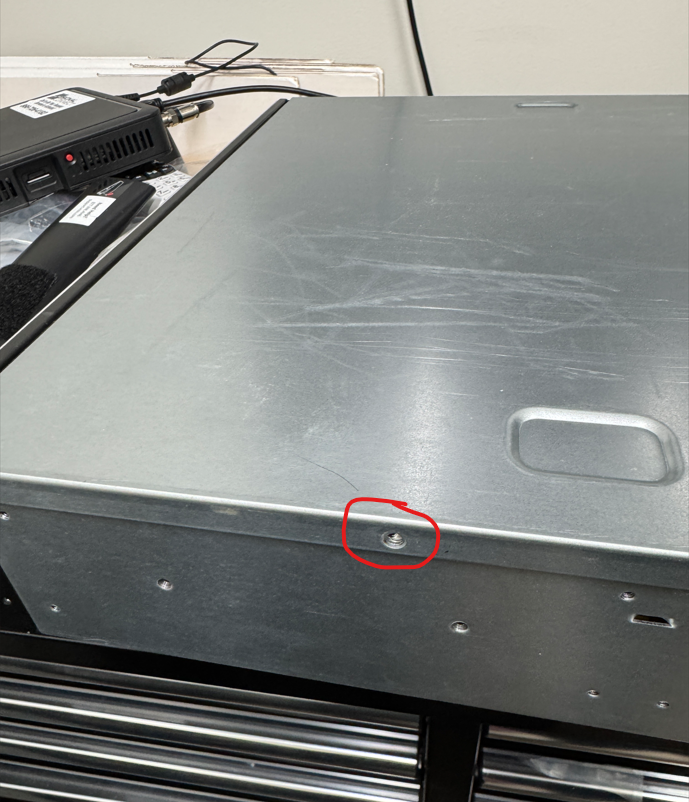

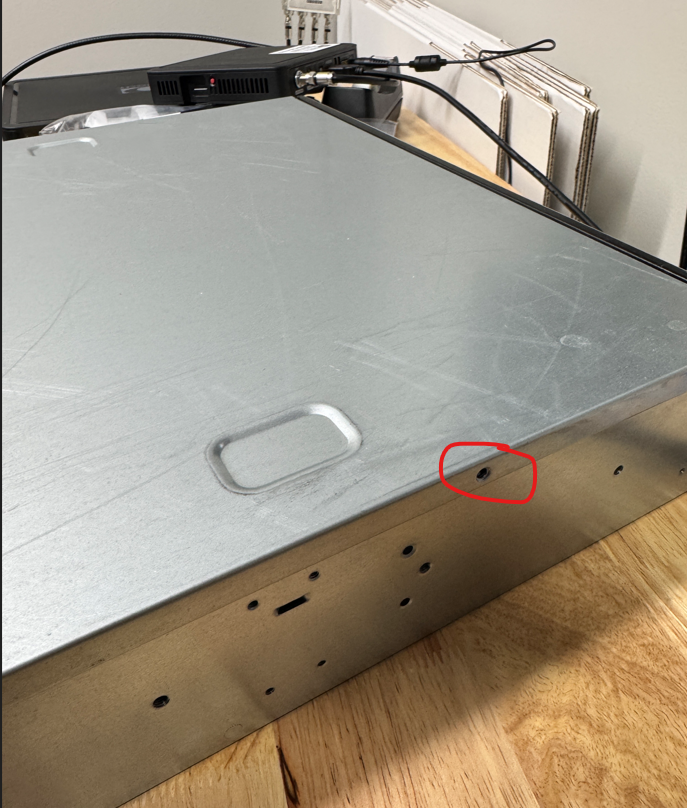
*Screw hole placements may vary depending on chassis
- Slide the lid towards the rear and lift it off the chassis to expose the internals of the encoder.
- Using the Philips screwdriver, unscrew the 4 screws holding in the capture cards
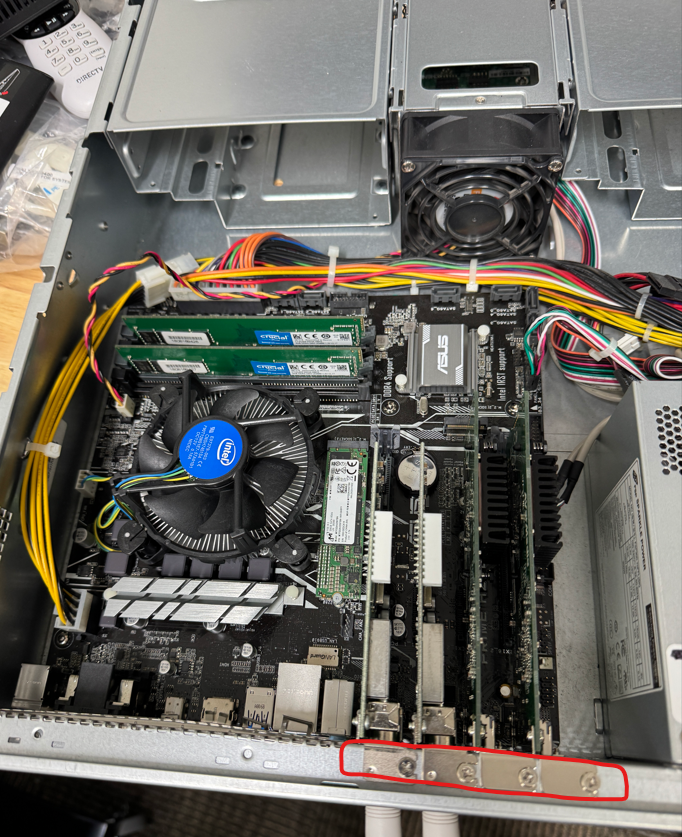
- Once screws are removed, gently lift the cards away from the motherboard.
- Optional: Store the cards and accompanying scews in an anti-static bag.
- Insert the lid back onto the chassis and secure it back on with the screws.