Question:
How do I add a custom watermark to a clip that I created using SnapStream?
Answer:
A SnapStream Administrator must create a custom watermark configuration if one is not already in place. To set up a watermark configuration, adhere to the instructions provided below.
- Log into the SnapStream WebUI as an administrator, then navigate to Admin (located at the top of the page) > Transcoding (found under Settings on the left).
NOTE: If you are unable to locate this page, please reach out to your SnapStream Administrator. - Click on the Configure Watermarks button at the bottom of the page.
- Select the Add Watermark button, and upload the image file you wish to utilize as a watermark. There are no limitations on the image you upload, but it will be automatically adjusted to a maximum width/height of 900px while maintaining the original aspect ratio. We recommend that your image file be in PNG format and not exceed 900px on its longest side.
- Set the fields below to your liking, and click the Save button.

- Watermark Name: A friendly name for easily identification.
- Grant Access to: What SnapStream users will have permission to view and use this watermark.
- Watermark Alpha: This adjusts the transparency level of the watermark.
- Upload Watermark Position: Specifies what corner you want the watermark to appear in.
If your SnapStream system has a watermark set up for your use, you can incorporate a watermark while creating your clip by adhering to the instructions provided below.
- Play the content and set your clipping start and end points as you typically do.
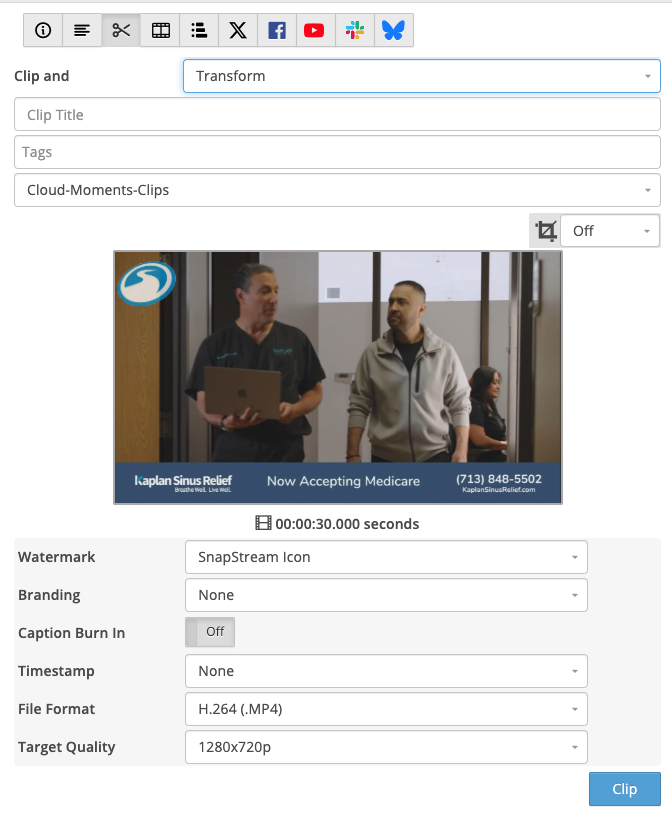
- Select the scissors icon, then opt for the Clip and Transform option.
- Choose the watermark you wish to include.
NOTE: If a Watermark field is not visible, you'll need to create a Watermark configuration in SnapStream. - Press the Clip button.
If your SnapStream system already has a watermark configured for you to use, you can add a watermark to a clip that has already been created by following the instructions below.
- Log into the SnapStream WebUI and select the clips you wish to apply a watermark to in the Library.
- Press the More Actions button > ShowSqueeze.
- Pick the Watermark you want to use, and then click the Submit button.

Additional Notes:
If you don't see a Watermark option, contact a SnapStream Administrator to have a watermark configured for use.
Applies to Version:
All